hairstyle

Curly Girl Review: Rapunzel “The Future of Hair”


IMG_7926

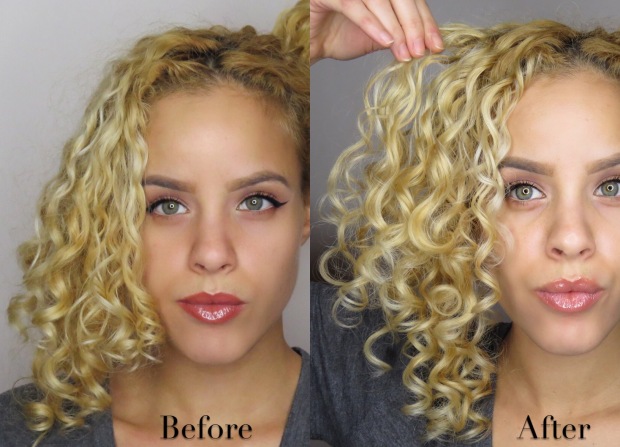
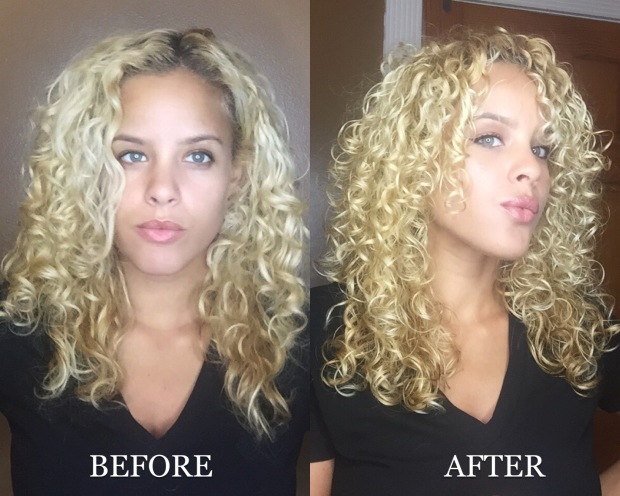
Hey curl friends, who wants to know what hair products I used to achieve these awesome results?! I had the pleasure of trying out some great products from Rapunzel. The end results left me with soft and shiny curls.

I used the following products from the Rapunzel line:IMG_7935
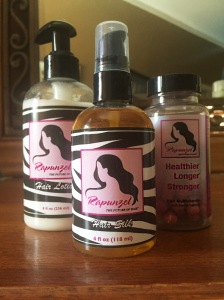
Rapunzel’s Hair Silk: made to smooth ends, condition, and when used daily aids in minimizing breakage and damage caused by chemicals and heated styling.

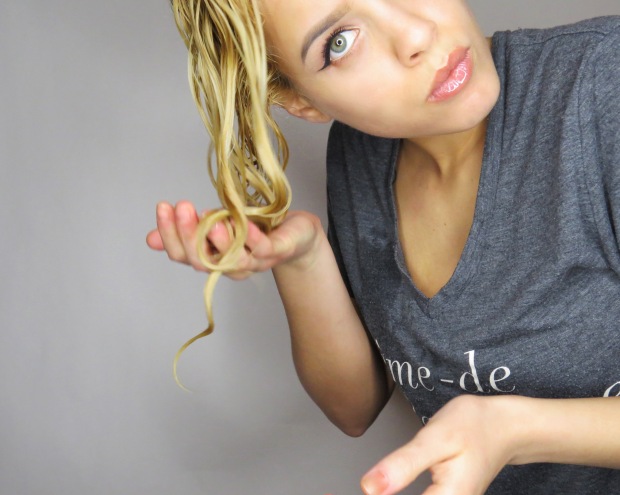
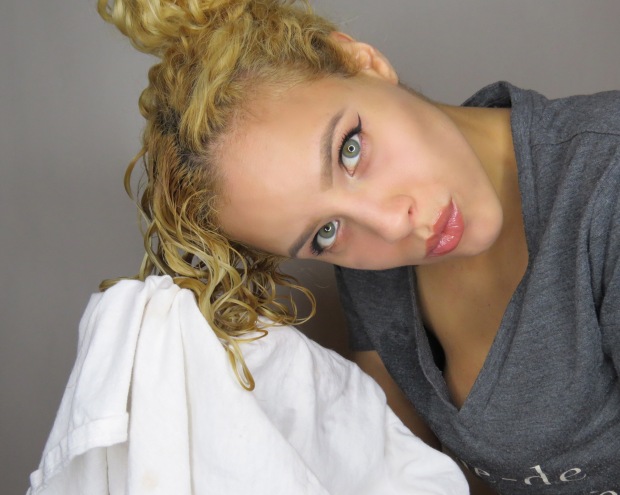
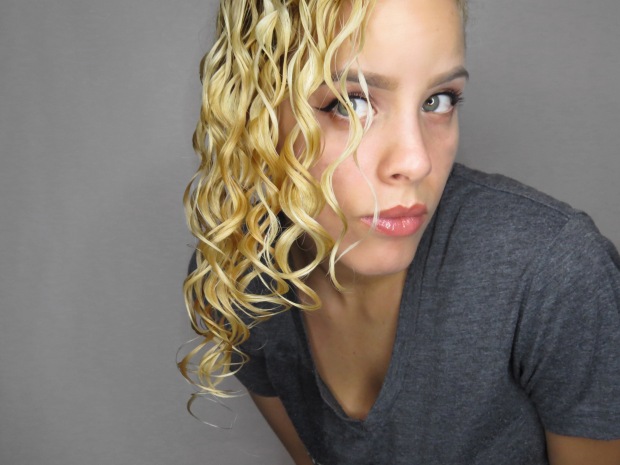
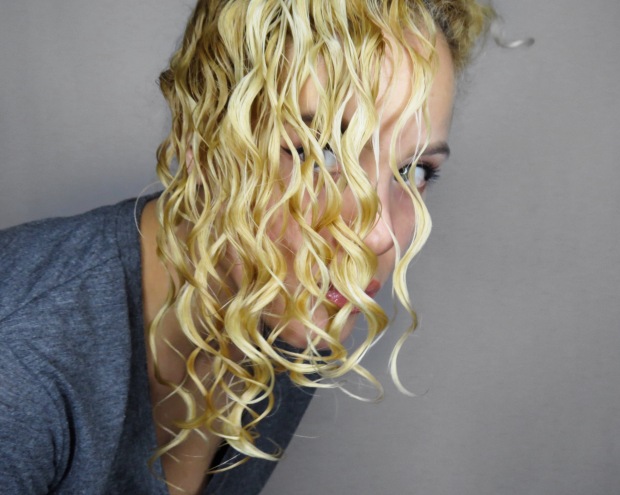
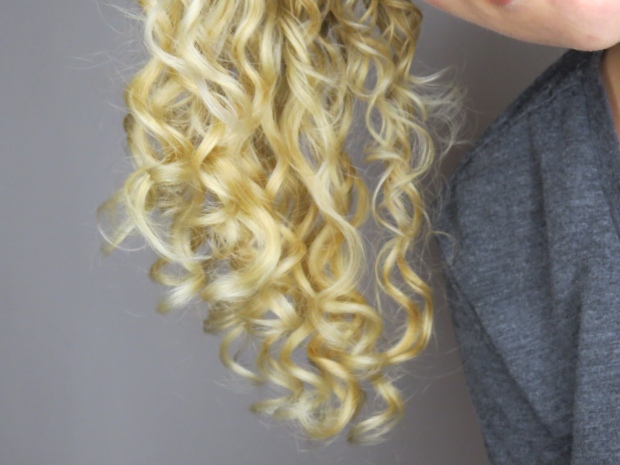
I loved that this product helps to protect your hair from chemical damage, since I dye my hair often. This oil also gave my curls some amazing shine! You can clearly see the difference in the photo above. In the “before” photo my hair looks dry and dull versus the “after” photo where my curls look shiny, moisturized, and even glisten in the light.

Rapunzel’s Hair Lotion: A deep moisturizing cream made with Shea Butter and other natural oils that promote healthy hair growth while protecting the hair from damage.

I was amazed how soft this cream left my hair…and when I say soft I mean SUPER-DUPER soft! (yes, I said super-duper I had to emphasize on how soft my tresses were! lol)  My comb and fingers literally glided through my hair, melting away any signs of knots that were ever there. It also did a great job at adding moisture to my hair and making it more manageable.

Rapunzel’s Hair Therapy: Hair multivitamins that help prevent hair loss and breakage from occurring.

I have been taking these vitamins consistently for a few days now and I believe I will see results. These vitamins contain a perfect dose of iron, which is an important ingredient when trying to promote hair growth because it carries oxygen to your roots.

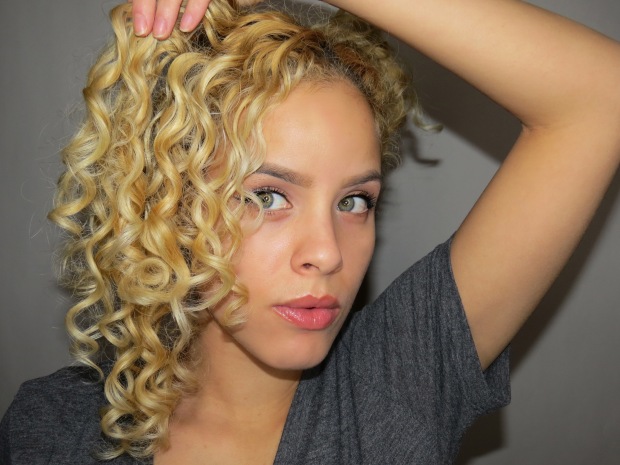
Here are some more “after” photos…just because who can resist taking selfies when your new hair products are giving your hair LIFE!…haha.

What do you guys think of my results? I loved the outcome, whats not to love about healthy, silky, and shiny looking curls! If you’re interested in seeing a step by step on how I applied the product press play in the video below:

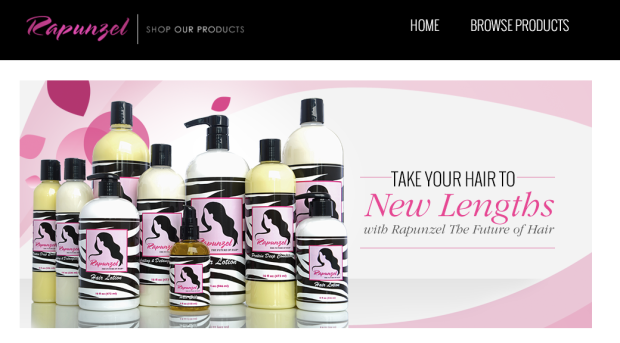
To find out more information or purchase any Rapunzel hair products please visit Rapunzelthefutureofhair.com
Screen Shot 2016-06-18 at 4.27.45 PM


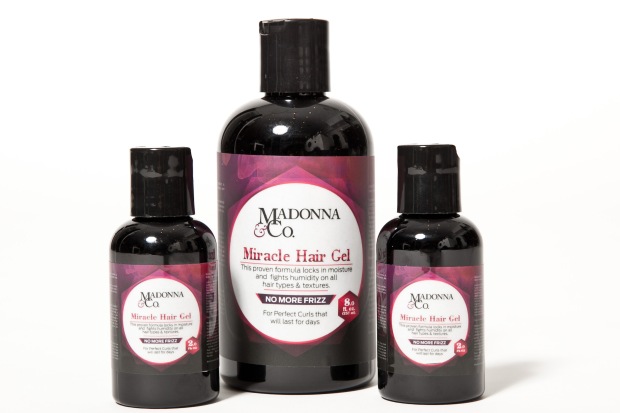
Curly Girl Review: Madonna & Co Miracle Hair Gel

miracle gel

A curly girl can never have too many hair styling products! Today, I’m sharing my results after using Madonna & Co’s new Miracle Hair Gel. For those of you who are not familiar with Madonna & Co, it’s a boutique and beauty bar. It’s a place that brings together beauty and fashion all under one roof. Although their beauty bar deals with all hair types and textures, they do specialize in curly hair. With that being said, they have created a new miracle gel formula to target frizz.

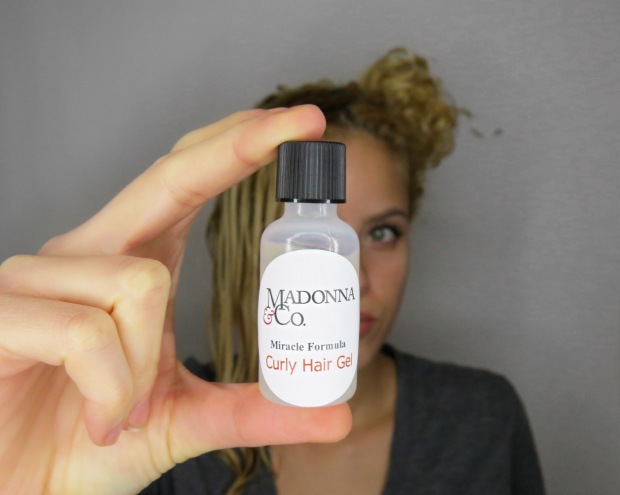
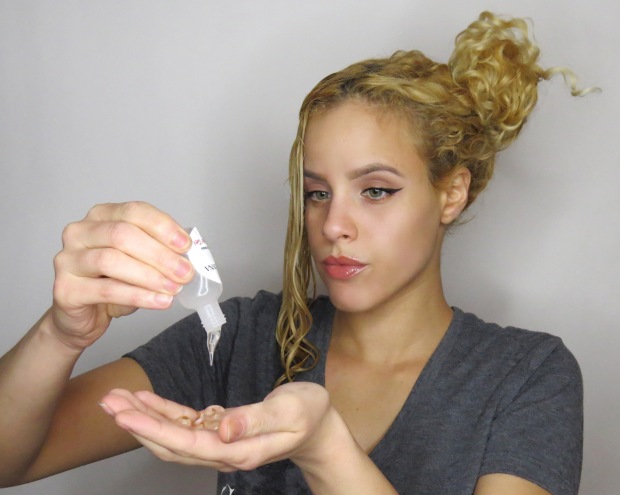
I was lucky enough to try their new product. I received a small sample size bottle of the Miracle Hair Gel. Because I wanted to see it’s true affect on my hair, and knew the small bottle would not be enough to distribute evenly all through out my hair, I decided to test it out on a smaller section of my hair. I made sure to apply the product in my hair while it was still very wet after washing, I then let it air dry. After it was a hundred percent dried I was able to compare and see the results. The gel had given me nice “S” shaped curls (or ringlets, which ever phrase you prefer). I had VERY nice curl definition with minimum frizz, which I loved! The gel had a light hold and didn’t weigh my hair down at all, nor did it leave my hair stiff but rather soft.

Take a look at how I used the Miracle Hair Gel and the final results:

1. I parted a small section of my hair and washed that section, getting it all ready for the product.

IMG_3489

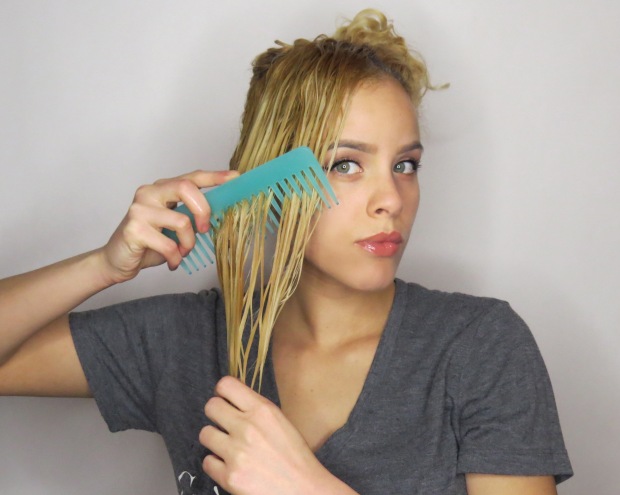
2. I applied the gel on my hair and then combed it through with a wide tooth comb to help distribute the product throughout my hair.

image2 (6)image1 (4)

3. I then scrunched my hair upwards towards the roots. (Because I apply the product on my hair while it’s still very wet, it is normal to see the product all in between your fingers). I continue to scrunch and hold a few more times.

IMG_3495

4. I used a cotton t-shirt to squeeze out any excess water.

IMG_3497

5. Then I just waited around until my hair dried…meanwhile take a look at what my curls looked like right after applying the gel:

IMG_3493IMG_3496

6. Here are the final results:

image1 (7)

IMG_3500IMG_2298

Want to try this new product for yourself? Purchase the Miracle Hair Gel or learn more about it at www.madonnaandco.com

Until next review my curly loves! xo


Curly Girl Review: Carol’s Daughter Marula Curl Therapy

Hello fellow curly gals (and guys)! Are you on the hunt for that perfect styling product that will leave you with soft bouncy curls? Well you can stop the experiments with the various hair products that don’t do the trick. I have done the experimenting for you! I’m excited to share this product with you guys, I found it to work GREAT! So I just had to share with all the curly headed folks out there!

IMG_4420

Todays “Curly Girl Review” is about the Carol’s Daughter Marula Curl Therapy line, which include the following products: Marula Curl Therapy Softening Hair Mask, Marula Curl Therapy Gentle Cream Cleanser, Marula Curl Therapy Softening Serum, and Marula Curl Therapy Diffusing & Styling Lotion. I wanted to use these products a few times before reviewing it, as sometimes in my experience the second or third time is the charm. However, with this line of products, I fell in love with it the first time around! The softening serum and diffusing & styling lotion exceeded my expectations. I applied it last minute to my semi dried tresses, when I usually apply the product while my hair is still soaking wet so that my curls come out more defined versus frizzy. To my surprise the results were still awesome, even though I had applied the product on semi dry hair! That alone made me love it! (flips hair). It also exceeded my expectations because I usually don’t diffuse my hair, I prefer to let it air dry. However, this specific line of products were made in mind with the combination of a diffuser to create beautiful defined curls…so I was up for trying a new way to style my curls. I absolutely loved the outcome, and even more when I tried it again, this time applying it as I usually do when my hair was fully wet for a more defined look. I usually like when my curls curl up to their most curliest potential, leaving me with a head full of curls on the tighter side. But with this product my results were more of a stretched out curl, they weren’t as tight as I usually rock them but it still looked GREAT! I liked how it gave me a different curl pattern giving me more options on styling a basic wash and go. I love how versatile curly hair could be, and loved how these products helped me achieve that. With the stretched out curl, it gave me a little less shrinkage, making my tresses look long even while curly. I simply loved the way my hair looked after styling it with the products and lightly diffusing it. Here are the steps I took to achieve my soft and bouncy curls:

1. I washed my hair with the Marula Curl Therapy Gentle Cleanser.

2. After rinsing off the cleanser, I applied the Marula Curl Therapy Softening Hair Mask and left it on for about five to seven minutes before rinsing it off. (Leaves your hair nice and soft!)

3. Once I got out the shower I applied the Marula Curl Therapy Softening Serum onto my wet tresses. (I used about three pumps and finger combed it through out my hair, starting from the roots to ends).

4. Afterwards I put the Marula Curl Therapy Diffusing & Styling Lotion. (A little goes a long way with this product, you don’t have to put too much to get results). I flipped my head upside down and scrunched the product into my hair.

5. After applying all the products, I let my hair air dry for a little before blasting the diffuser. Once I let it air dry a bit, I then used the diffuser on low heat. And voila!…a head of big, soft, bouncy curls were revealed! (If you have some unwanted frizz, just go ahead and add another pump of the softening serum and it will help get rid of some of that extra frizz. But a little frizz is okay, go ahead and work it girl!)

Take a look at my results after styling my hair with the Marula Hair Therapy products:

In all, I would definitely recommend this product line. It is by far one of my favorite Carol’s Daughter line of hair products! And not to mention, I received so many compliments on my hair when I used these products (that’s always a plus!…hehe). You can purchase this line of products at CarolsDaughter.com

Thanks for stopping by loves!

P.S. Dont forget to subscribe to this blog in order to receive more hair tips, tutorials, and reviews. Also make sure to follow me on Instagram @Style_Dose as well as @CarolsDaughter for some more hairspiration!

XO!

Holy Chic

“Holy Chic”…how awesome is that phrase?! There’s only one thing that can make it better, having it printed on a cozy sweater! A black sweater is always an essential for the cold weather, and I thought having a cute phrase on it would make an outfit a little more fun and interesting. I scored this cute sweater at Forever21, they always have the cutest things!

IMG_2901IMG_2912 IMG_2928

Sweater: Forever21 // Pants: Love Culture // Boots: H&M

I decided to pair the sweater with my burgundy waxed pants, instead of going with black or regular jeans to make the outfit stand out more. My black booties worked perfectly to pull the whole look together, as it helped make the black sweater pop more against the burgundy pants. To dress up my outfit just a tad bit, I went ahead and threw on my black and gold chunky necklace. For the final touches, I opted for a dark burgundy lip to compliment my pants and went with a chic braided updo.

Here’s a closer look at my hair:

IMG_2970 IMG_2947 IMG_2952 IMG_2954

Thanks for stopping by loves! xo.

Valentine’s Day Hairspiration

Valentine’s Day is quickly approaching! So I decided to do a post to provide you gals with a little hair inspiration for the day of love. Here are three quick and easy hairstyles to complete your Valentine’s Day look.

Tools Used: For all three hairstyles all I used were a few hair comb clips and bobby pins.

Hairstyle #1 “One Sided Do”

Hairstyle #2 “High Pony & Faux Bangs”

Hairstyle #3 “Bun Head”

Braided Beauty Pictorial

Yay!…I’m so excited to finally start my blog! I’ve wanted to get a blog going for quite some time now, and I finally got around to it. The only problem was, I was stuck on what my first post would be about. A few days ago I posted some pictures (as seen below) on my Instagram showcasing my braided updo, and to my surprise it was a hit! I received so many lovely comments and requests for a tutorial. And that’s when it hit me, my followers had answered my question!…(and that is why you guys are so awesome!) After the many requests for a tutorial, I was inspired to create my first post. What better way to start my blog then giving the people what they ask for! (P.S. I owe you guys a big THANK YOU for inspiring my first post. xo)

braided do

braided do

Unfortunately, I was not able to do a video tutorial. However, I made the next best thing for you guys: a “Braided Beauty” Pictorial. I included photos of all the main steps and a written guide including all the specific details you need to know to achieve this hairstyle.

Note: Before you freak out and start thinking “there’s no way I can do that,” just know that this hairstyle is simply two french braids framing your face made into a side bun; maybe that will help you think of it in a less complicated manner. OK, lets get started:

braided beauty pictorial

Tools you will need: a comb, hair tie, two rubber bands, bobby pins, hair clip and any styling product of your choice (optional).

1. Start by taking your comb and parting your hair down the side (you can part to the right or left, whatever your preference may be)

2. Take the side with less hair and clip it up to keep it from getting in the way. Then on the opposite side prepare to make a french braid by sectioning your hair into three small parts (about an inch each section) just like I did above.

3. Start braiding with those three sections of hair, grabbing more sections of your hair as you braid downward to keep it close to your scalp. Keep braiding until you reach the ends of your hair, then secure it by tying a rubber band at the end of the braid. (If you’re a beginner when it comes to braiding and find this step difficult, head onto youtube and find a “how to french braid” tutorial. It’s how I learned, and remember practice makes perfect so don’t get discouraged if you don’t get it on your first try!)

4. Repeat step 3 on the opposite side.

5. After you have braided both sides, this is what it should look like. (Kind of like a braided headband)

6. Gently pull the braids apart for a looser, softer texture.

7. Pull all your hair to one side, as if you’re about to tie it up into a ponytail. Once you positioned the ponytail where you want it, go ahead and tie it with a hair tie. When pulling your hair into the ponytail make sure you loop it around only once. When you go to loop the hair tie a second time DO NOT pull your hair all the way through as shown above.

8. You should now end up with some sort of bun. At this time you can simply tweak it until you get the bun shape you desire and make sure you’re securing it with bobby pins along the way. And viola!…you have just created a chic braided do. Now add some accessories and you’re ready to go!

I hope this pictorial helped you guys out! If you have any questions, please feel free to leave them in the comment section. 🙂