hair care

Curly Girl Review: Rapunzel “The Future of Hair”


IMG_7926

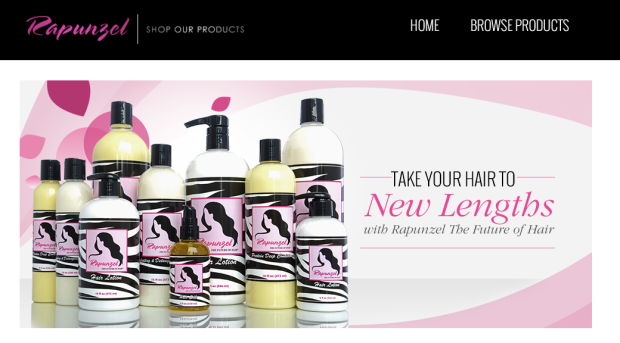
Hey curl friends, who wants to know what hair products I used to achieve these awesome results?! I had the pleasure of trying out some great products from Rapunzel. The end results left me with soft and shiny curls.

I used the following products from the Rapunzel line:IMG_7935

Rapunzel’s Hair Silk: made to smooth ends, condition, and when used daily aids in minimizing breakage and damage caused by chemicals and heated styling.

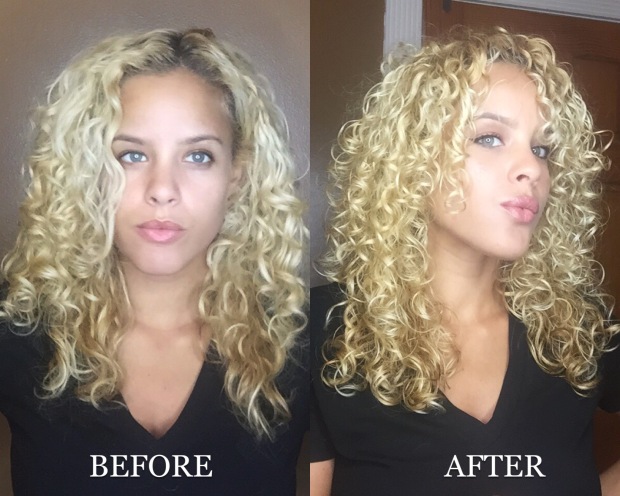
I loved that this product helps to protect your hair from chemical damage, since I dye my hair often. This oil also gave my curls some amazing shine! You can clearly see the difference in the photo above. In the “before” photo my hair looks dry and dull versus the “after” photo where my curls look shiny, moisturized, and even glisten in the light.

Rapunzel’s Hair Lotion: A deep moisturizing cream made with Shea Butter and other natural oils that promote healthy hair growth while protecting the hair from damage.

I was amazed how soft this cream left my hair…and when I say soft I mean SUPER-DUPER soft! (yes, I said super-duper I had to emphasize on how soft my tresses were! lol)  My comb and fingers literally glided through my hair, melting away any signs of knots that were ever there. It also did a great job at adding moisture to my hair and making it more manageable.

Rapunzel’s Hair Therapy: Hair multivitamins that help prevent hair loss and breakage from occurring.

I have been taking these vitamins consistently for a few days now and I believe I will see results. These vitamins contain a perfect dose of iron, which is an important ingredient when trying to promote hair growth because it carries oxygen to your roots.

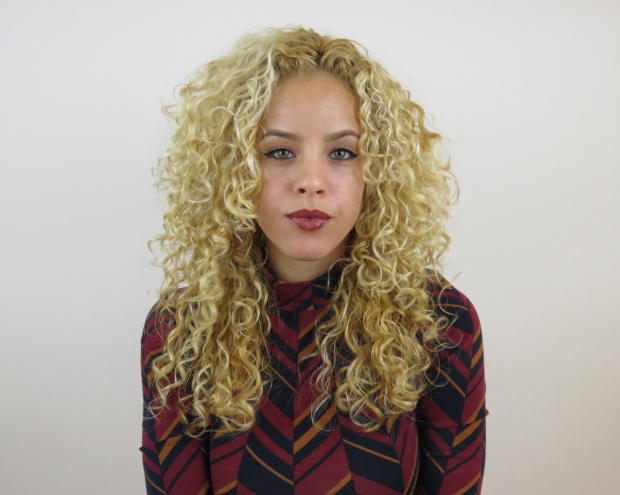
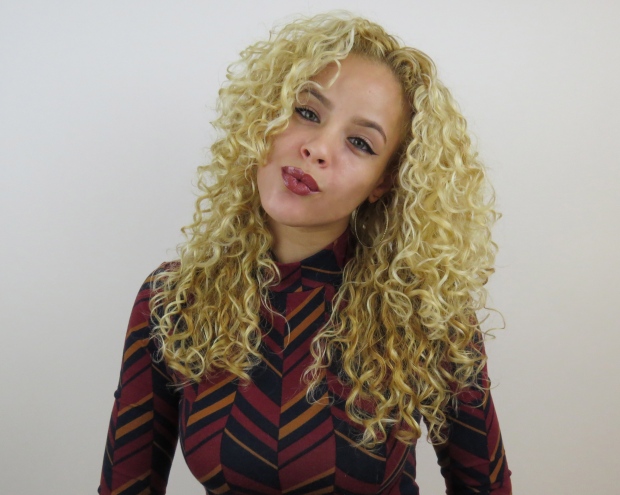
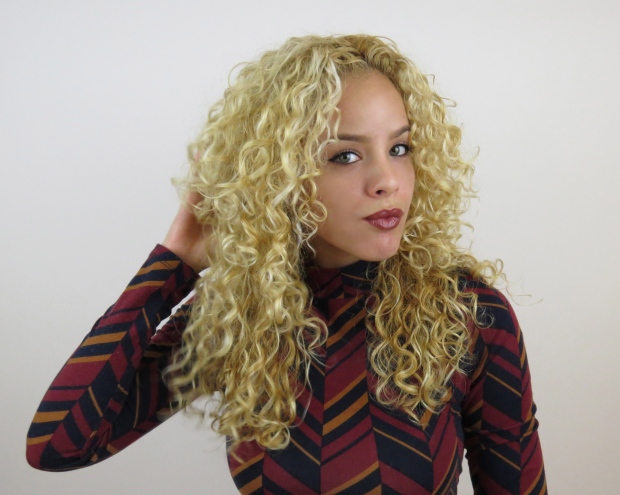
Here are some more “after” photos…just because who can resist taking selfies when your new hair products are giving your hair LIFE!…haha.

What do you guys think of my results? I loved the outcome, whats not to love about healthy, silky, and shiny looking curls! If you’re interested in seeing a step by step on how I applied the product press play in the video below:

To find out more information or purchase any Rapunzel hair products please visit Rapunzelthefutureofhair.com

Screen Shot 2016-06-18 at 4.27.45 PM


Curly Girl Tutorial & Review: Camille Rose Naturals

Hello everyone! Sorry I’ve left you guys hanging and been M.I.A on my blog for a while. BUT, the important thing is I’m back in action and I have some new tutorials and reviews for you guys! Today, I’m reviewing the new line for Camille Rose Naturals. If you remember, I reviewed some of their products once before and was a fan (click here to check it out)…so I was excited to try out their new stuff! My package from Camille Rose Naturals included the following:

IMG_5744.JPG

  • Sweet Ginger Cleansing Rinse with Castor & Aniseed oil.
  • Aloe Whipped Butter Gel with Aloe Vera & Macadamia Oil
  • Coconut Water Leave-In Detangling Hair Treatment

Now keep scrolling for a tutorial and my final thoughts on the new line…

c.rose3

So first thing’s first…get your wash on! (p.s. don’t mind my bare face and puffy eyes, I was a little sick this past weekend. And some of the blurry pics are do to my steamy shower haha). First, I washed my hair with the Sweet Ginger Cleansing Rinse. Start at your roots as you scrub your scalp, working your way down to the ends of your hair. Then I used my Camille Rose Naturals Coconut Water Penetrating Hair Treatment to condition my hair. I like to split my hair into two parts, and work the product through each half using a wide tooth comb to detangle along the way. After I’ve gotten all those pesky little knots out, I put a shower cap and leave the conditioner on for 15-30 minutes then rinse it off completely.

c. rose

As for styling, while my hair was still soaking wet I parted it in half. Then applied the leave in conditioner and combed it through with a wide tooth comb. I repeated the same steps on the other half. Finally, I took a scoop of the Aloe Whipped Butter Gel and scrunched it upwards into my hair and continued to scrunch my hair all over. With the butter gel, a little goes a long way so be careful not to apply too much as you don’t want to weigh your hair down (That is, if you have the same hair type as myself. If you have thicker hair go ahead and apply a little more). Once you’re done scrunching your life away..haha flip that head back up! and now you just wait while your hair air dries. You can opt for a diffuser on the cool setting if you want to speed up the drying process.

Anddd… here are the final results after waiting for it to air dry, and a little blast of cool air from the diffuser:

IMG_5693IMG_5736IMG_5714

The Aloe whipped butter gel elongated my curls, giving me more of a looser curl versus a tighter curl to show off more of my length. It’s nice to have the option to switch it up and give your curls a slightly different pattern. This product did not leave my hair stiff but nice and soft just the way I like!

Here’s my final thoughts on this product line:

Once again my FAVORITE thing about this line is the scent! Mmmm…everything smells so sweet, I have to keep reminding myself I can’t eat my hair. HAHA…what can I say I have a major sweet tooth! All jokes aside, this has to be by far my favorite scent out of all my products. Which is important to me since my hair is on my head and close to my nose (duh, you can now confirm I passed pre-k lol). My point is all day long I can smell my hair, so I hate it when I use a product that isn’t so appealing when it comes to the smell. Besides, don’t you just love it when the person next to you says out loud how tropical you smell and you’re just like thanks that would be my hair (does hair flip) hehe. Other than the scent, I loved that the rinse is sulfate-free and is infused with all these natural ingredients for moisture retention and slip. I really loved the Coconut Leave-In Hair Treatment. I always like to leave a little of conditioner in my hair after I wash, so this was perfect…it left my hair knot free and quite soft. As for the Aloe Whipped Butter Gel, I like how a little goes a long way with this product. Which is always a plus, because it means you get more for your money. It’s not something you have to keep constantly buying as its sure to last you a long time, and you can even use it for your more polished up-dos!

Check out my quick video on how I applied the product to style my hair!


You can purchase this product line at Target or shop on their website!


How To Achieve Voluminous Hair Without Heat

As a curly girl, I try not to use any heat on my hair in order to avoid heat damage. However, every now and then I get the itch to blow out my curly locks. Technically, you shouldn’t use any heat on your curls in order to maintain healthy curly locks. I believe if you do it only once in a blue moon and take proper care of your hair, it won’t cause major damage. Besides, isn’t the versatility of having curly hair one of the biggest perks of being a “natural” ?! You get the best of both worlds…you can go from big curly hair to a sleek straight do and the options don’t end there!

When I straighten my hair, I prefer to have some body versus pin straight hair. There was one little problem with that…the more volume and body I wanted, the more heat I had to apply to my hair. When I used to straighten my own hair, I would use a curling iron afterwards to give my hair a little body and bounce. Once I started taking better care of my hair and tried cutting out using as much heat as possible, I had to come up with ways to create voluminous hair without using heat appliances on my tresses. That’s when I came up with my new hair routine to achieve voluminous hair. Keep scrolling to see how I do it!

volume pictorial

After you straightened your tresses, follow the steps below:

1. Split your hair into four even sections. Clip three of the sections, to keep them from getting in the way while you work in one section.

2. Grab about an inch of hair and with your fingers start rolling that piece as if you were putting it into a roller securing it with two bobby pins, one on each side (start from the bottom, rolling it up towards your scalp).

3. Repeat step 2 until you rolled up every piece of hair in each section. I usually do this right before bed and go to sleep with it. You can choose to do the same or you can do this throughout the day before heading out or while you get dressed and do your makeup. The longer you leave the rolls in the more body you will achieve. Once you unpinned your hair, go ahead and run your fingers through your hair to loosen up the curls and spray a little hairspray if you choose (but just a little, you don’t want it to be too stiff).

Here’s what my tresses look like after I take out the rolls:

 Thanks for stopping by! xo