Month: December 2013

Golden Girl

Are you still searching for that perfect holiday outfit? Well then, it’s a good thing you decided to pay Style_Dose a visit! Today’s post will hopefully inspire some holiday worthy outfits. I, myself was actually looking for some holiday outfit inspiration when I came across a gold sequin cropped top in my closet. The gold and sequin combination had holiday written all over it! So the star of today’s post will be…yup, you guessed it! – That little gold sequin cropped top. I put together two different looks with this one top, hope you guys like it!

Note: All the pieces I am wearing are all older. However, I did my best to find similar pieces for you guys! Keep reading to get the details!

OUTFIT #1

GOLDEN GIRL

IMG_2340GOLDEN GIRLTop: Joyce Leslie (similar one here) // Pants: Rampage at Macy’s (similar ones here) // Shoes: Easy Pickins (similar ones here)

OUTFIT #2

GOLDEN GIRL2GOLDEN GIRL2GOLDEN GIRL2

Skirt: BCBG (similar one here and here) // Thigh High Socks: American Apparel (here) // Watch: Michael Kors

I had forgotten all about this little gold top – isn’t it the best when you find hidden treasures in your closet?! For outfit number one I went for a more simple look, pairing the top with my black high waisted pants. I felt like the shirt made a statement all on it’s own so pairing it with simple black pants would still make the outfit stand out. As for outfit number two I wanted to go for a more trendy and flirty look. I decided to pair the top with my black body-con skirt that I hiked up a bit in order to rock my thigh high socks. I thought the thigh high socks made the outfit look a bit more trendy.

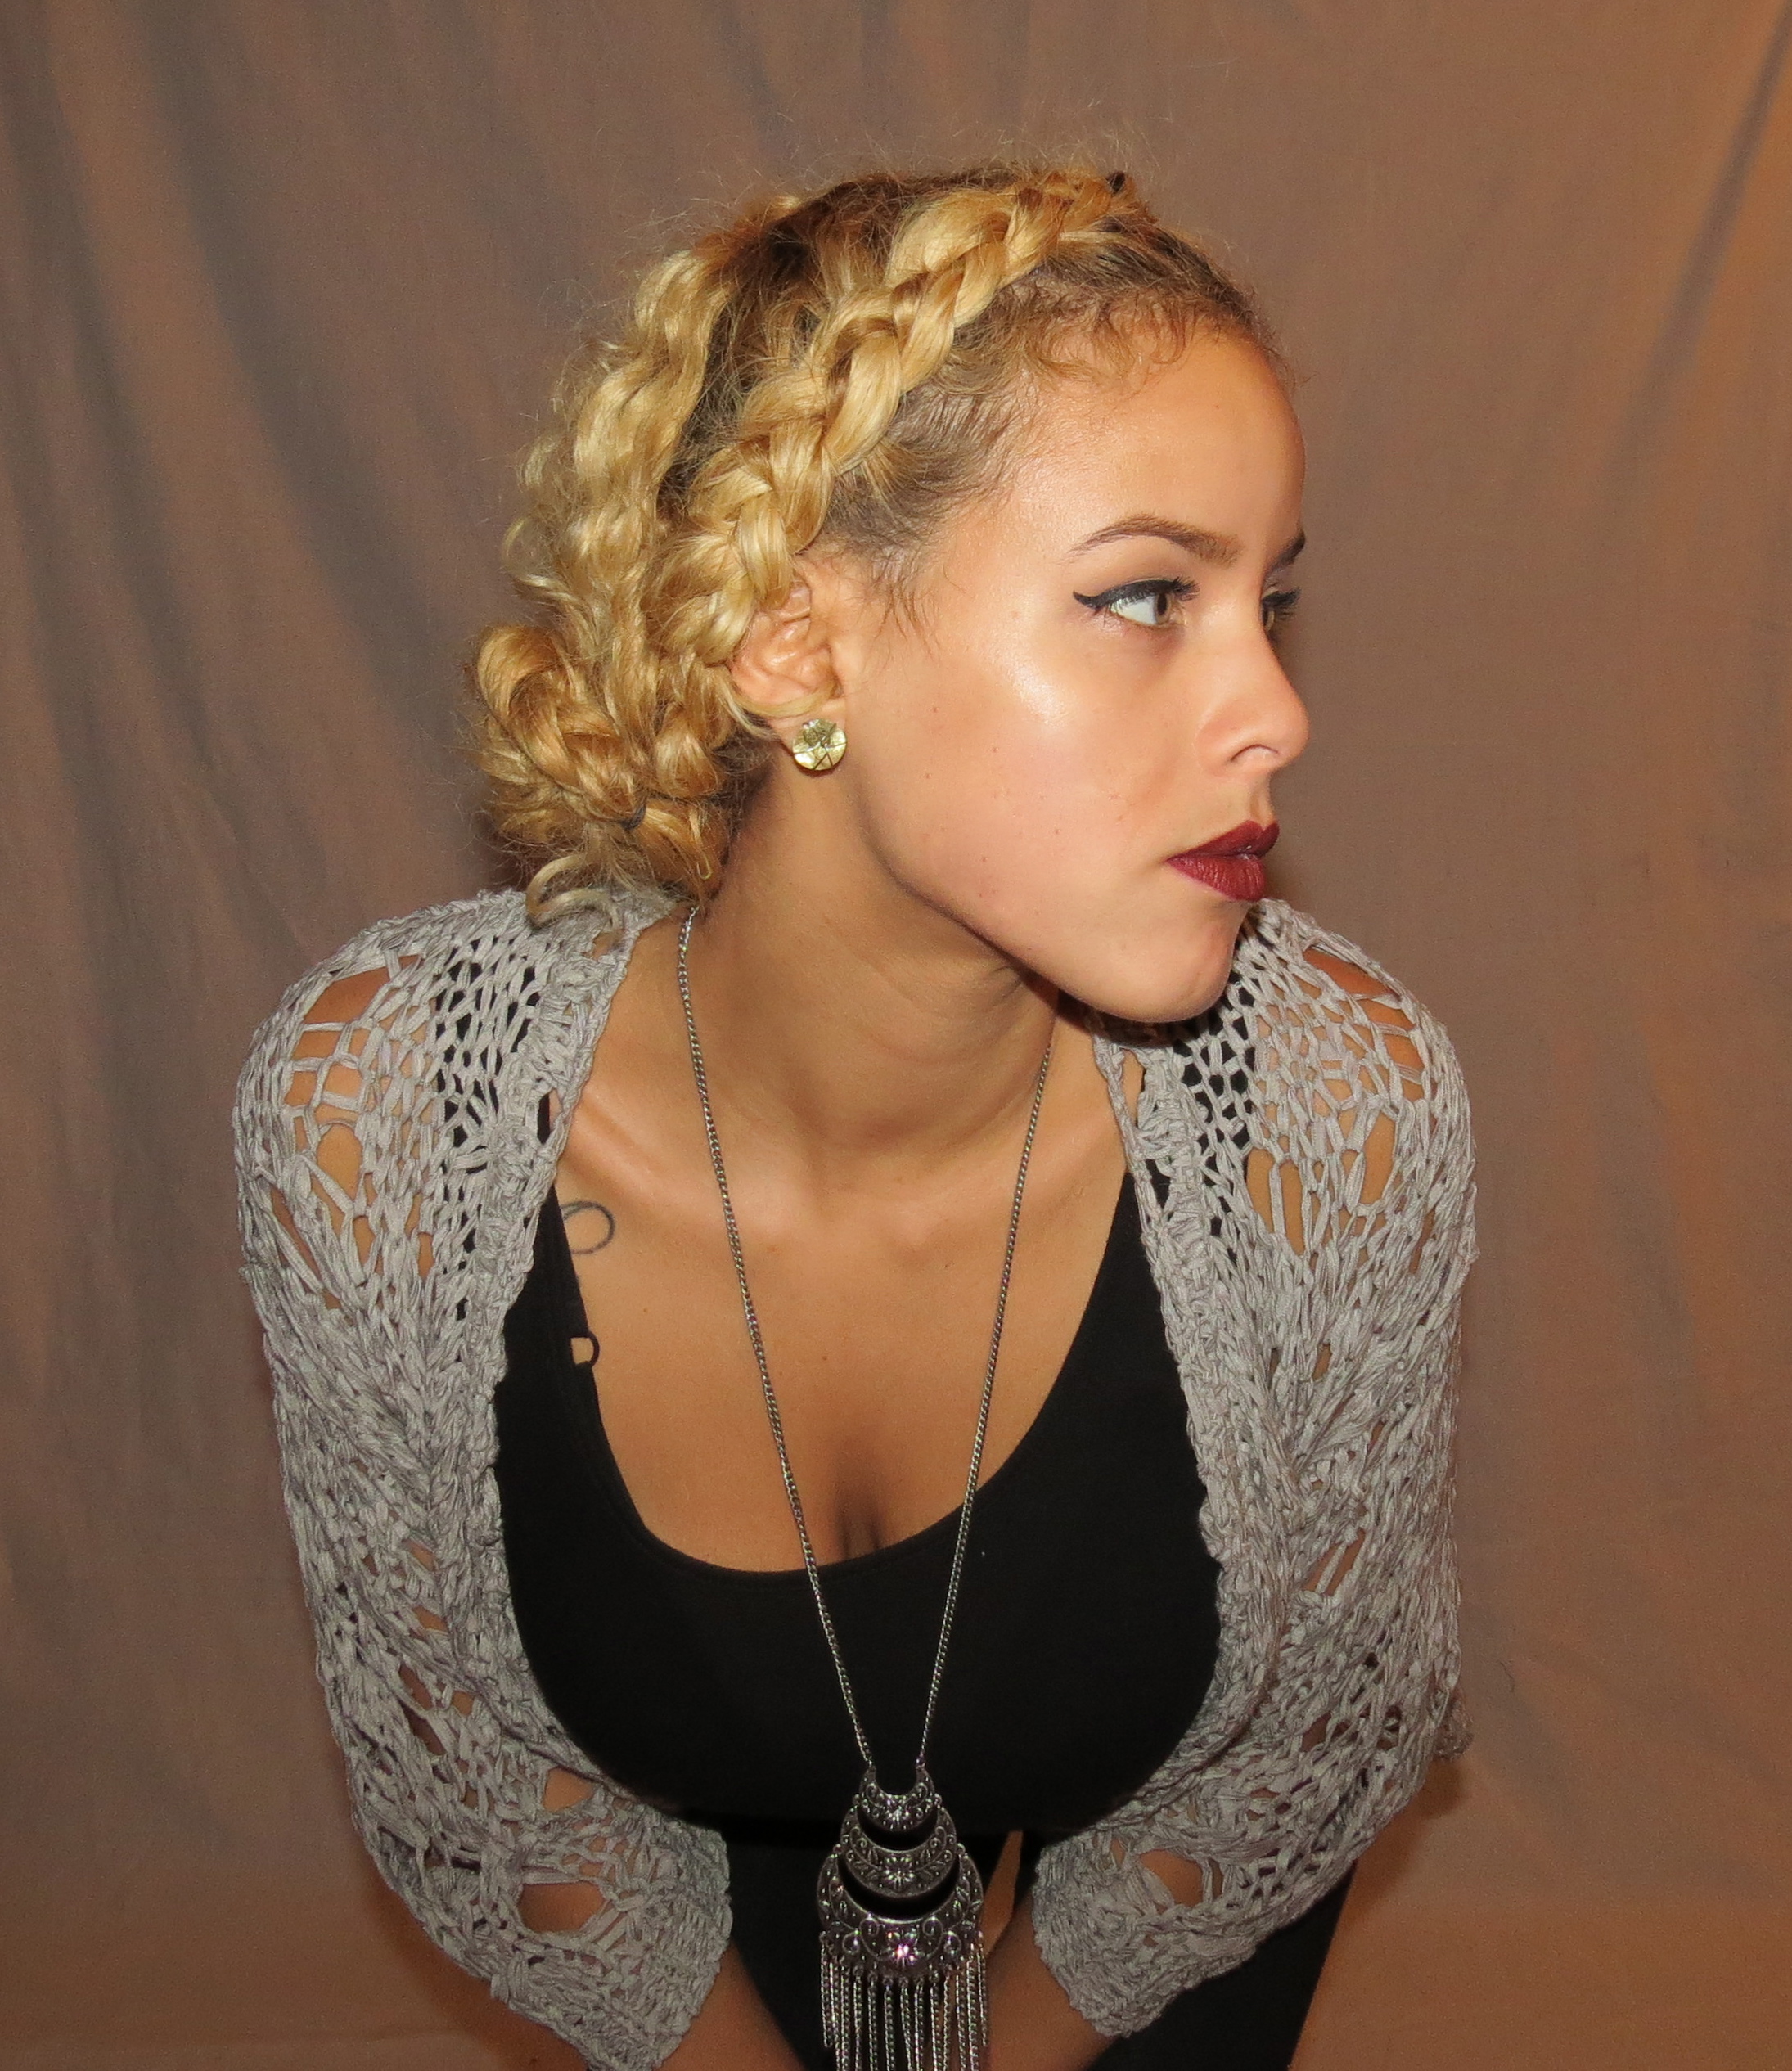
Now here are some close ups of my hair and makeup:

IMG_2453IMG_2452IMG_2478IMG_2488

Hope you guys find some inspiration from my post. Happy Holidays! xo.

Braided Beauty Pictorial

Yay!…I’m so excited to finally start my blog! I’ve wanted to get a blog going for quite some time now, and I finally got around to it. The only problem was, I was stuck on what my first post would be about. A few days ago I posted some pictures (as seen below) on my Instagram showcasing my braided updo, and to my surprise it was a hit! I received so many lovely comments and requests for a tutorial. And that’s when it hit me, my followers had answered my question!…(and that is why you guys are so awesome!) After the many requests for a tutorial, I was inspired to create my first post. What better way to start my blog then giving the people what they ask for! (P.S. I owe you guys a big THANK YOU for inspiring my first post. xo)

braided do

braided do

Unfortunately, I was not able to do a video tutorial. However, I made the next best thing for you guys: a “Braided Beauty” Pictorial. I included photos of all the main steps and a written guide including all the specific details you need to know to achieve this hairstyle.

Note: Before you freak out and start thinking “there’s no way I can do that,” just know that this hairstyle is simply two french braids framing your face made into a side bun; maybe that will help you think of it in a less complicated manner. OK, lets get started:

braided beauty pictorial

Tools you will need: a comb, hair tie, two rubber bands, bobby pins, hair clip and any styling product of your choice (optional).

1. Start by taking your comb and parting your hair down the side (you can part to the right or left, whatever your preference may be)

2. Take the side with less hair and clip it up to keep it from getting in the way. Then on the opposite side prepare to make a french braid by sectioning your hair into three small parts (about an inch each section) just like I did above.

3. Start braiding with those three sections of hair, grabbing more sections of your hair as you braid downward to keep it close to your scalp. Keep braiding until you reach the ends of your hair, then secure it by tying a rubber band at the end of the braid. (If you’re a beginner when it comes to braiding and find this step difficult, head onto youtube and find a “how to french braid” tutorial. It’s how I learned, and remember practice makes perfect so don’t get discouraged if you don’t get it on your first try!)

4. Repeat step 3 on the opposite side.

5. After you have braided both sides, this is what it should look like. (Kind of like a braided headband)

6. Gently pull the braids apart for a looser, softer texture.

7. Pull all your hair to one side, as if you’re about to tie it up into a ponytail. Once you positioned the ponytail where you want it, go ahead and tie it with a hair tie. When pulling your hair into the ponytail make sure you loop it around only once. When you go to loop the hair tie a second time DO NOT pull your hair all the way through as shown above.

8. You should now end up with some sort of bun. At this time you can simply tweak it until you get the bun shape you desire and make sure you’re securing it with bobby pins along the way. And viola!…you have just created a chic braided do. Now add some accessories and you’re ready to go!

I hope this pictorial helped you guys out! If you have any questions, please feel free to leave them in the comment section. 🙂